Safely Disconnecting: A Guide to Removing Your EV Charger
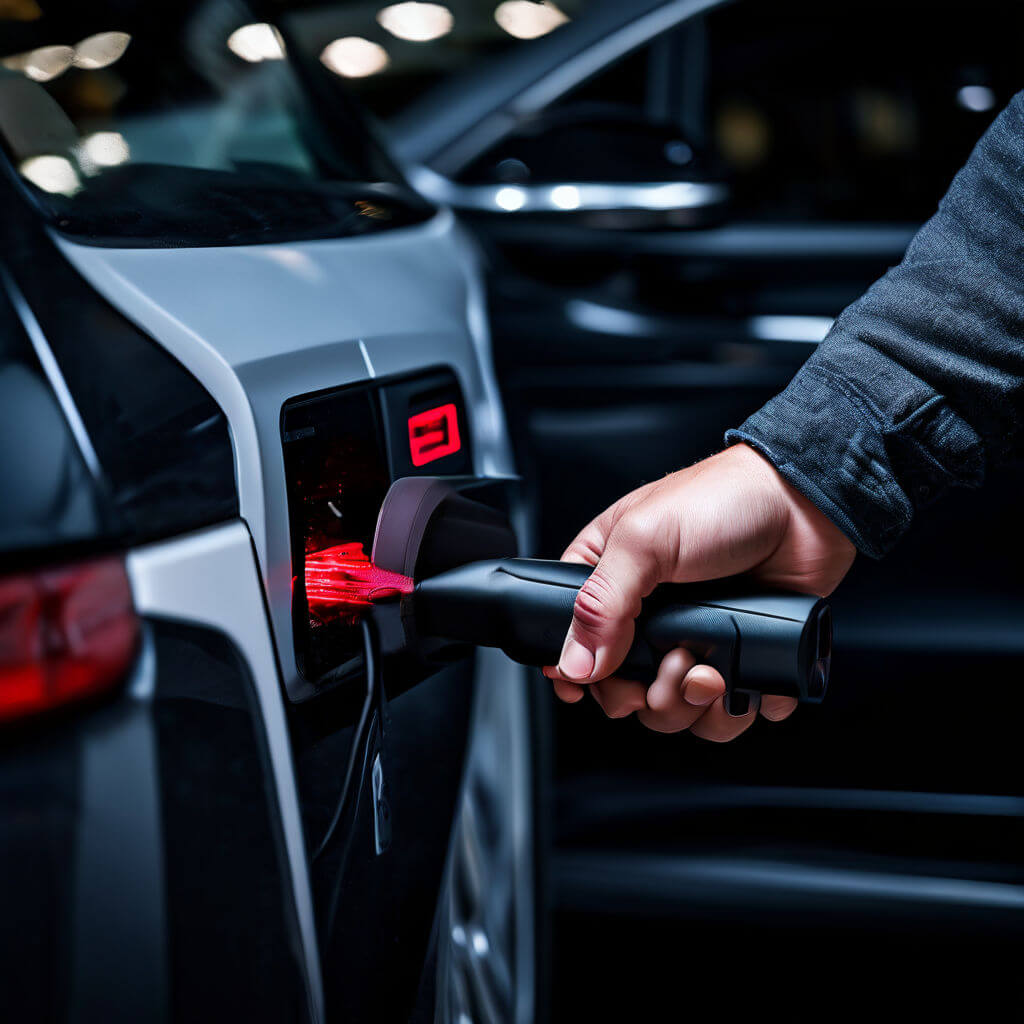
Electric vehicles (EVs) are revolutionizing transportation, offering a clean and efficient driving experience. But with the convenience of home and public charging stations comes the task of properly disconnecting your car. Fear not, fellow EV drivers! This guide will walk you through the safe and simple process of removing your EV charger, ensuring a smooth and stress-free experience.
Why Proper Removal Matters
More than just unplugging a cord, removing your EV charger correctly ensures both safety and optimal performance for your car and the charging unit. Here’s why it matters:
- Safety First: EV chargers deal with high-voltage electricity. Improper removal can lead to sparks, electrical shock, or damage to the connector or charging port.
- Preserving Your Investment: Both the charger and your car’s charging port are delicate components. Rough handling during removal can cause wear and tear, leading to costly repairs down the line.
- Ensuring a Secure Connection: A properly released connector ensures a snug fit when you plug back in, preventing potential charging issues.
Types of EV Charger
Before diving into the removal process, let’s get familiar with the different types of EV chargers and their unique features:
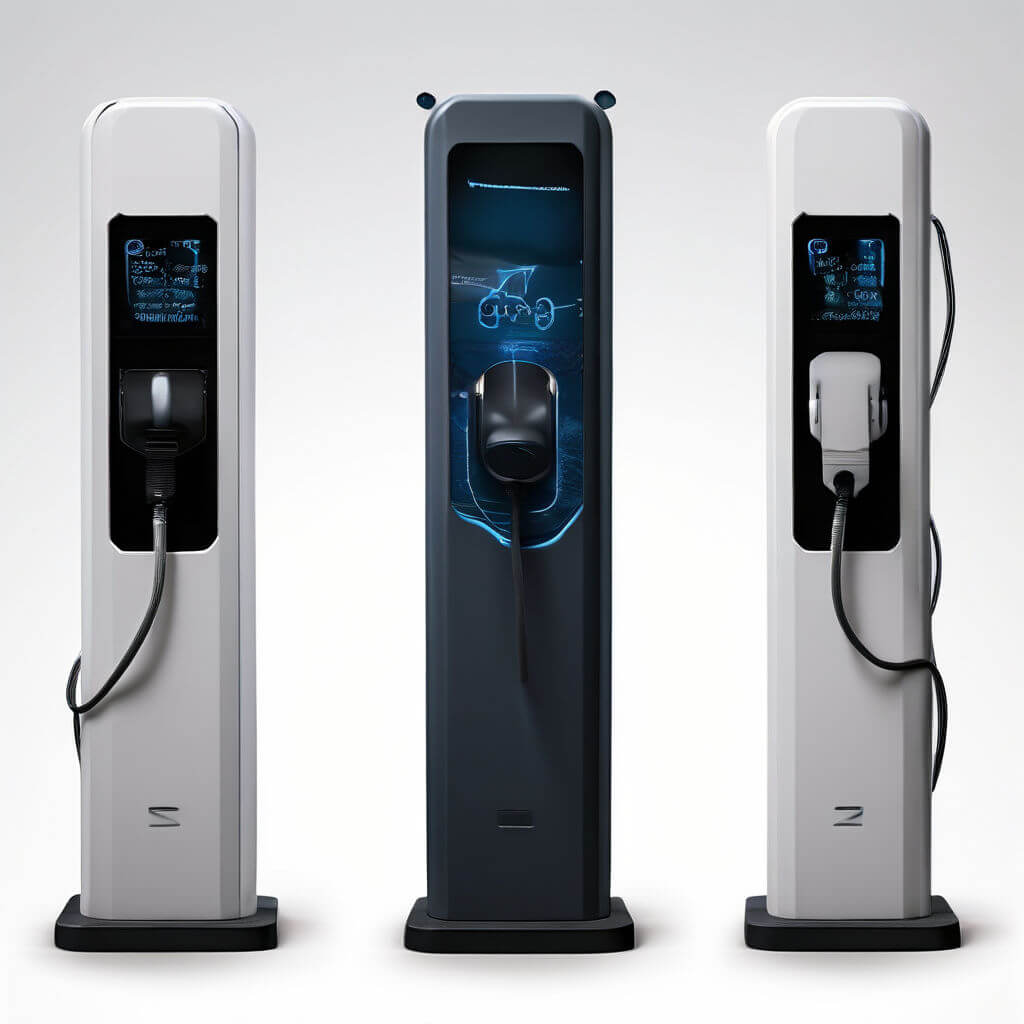
- Level 1 Charger (Standard Outlet): These typically come with your car and plug into a regular 120V household outlet. They often lack locking mechanisms due to the lower power delivery.
- Level 2 Charger (Wallbox): Installed in homes and public stations, these 240V chargers offer faster charging speeds. They usually feature a locking mechanism to secure the connection.
- DC Fast Charger (Public Stations): These high-powered chargers (400V+) are designed for rapid charging on the go. They have sophisticated locking mechanisms and automated processes.
Step-by-Step Guide to Removing Your EV Charger (Level 1 & 2)
Now that we understand the importance and types of EV chargers, let’s get down to business! Here’s a step-by-step guide for removing Level 1 and Level 2 chargers, which are most commonly used for home and public charging:
1. Power Down:
- Ensure your car is turned off and parked in a safe location.
- For Level 2 chargers: Locate the charging station interface or app (depending on the setup). Look for options to “Stop Charging” or “End Session.” Follow the specific instructions to terminate the charging process electronically.
2. Locating the Release Button:
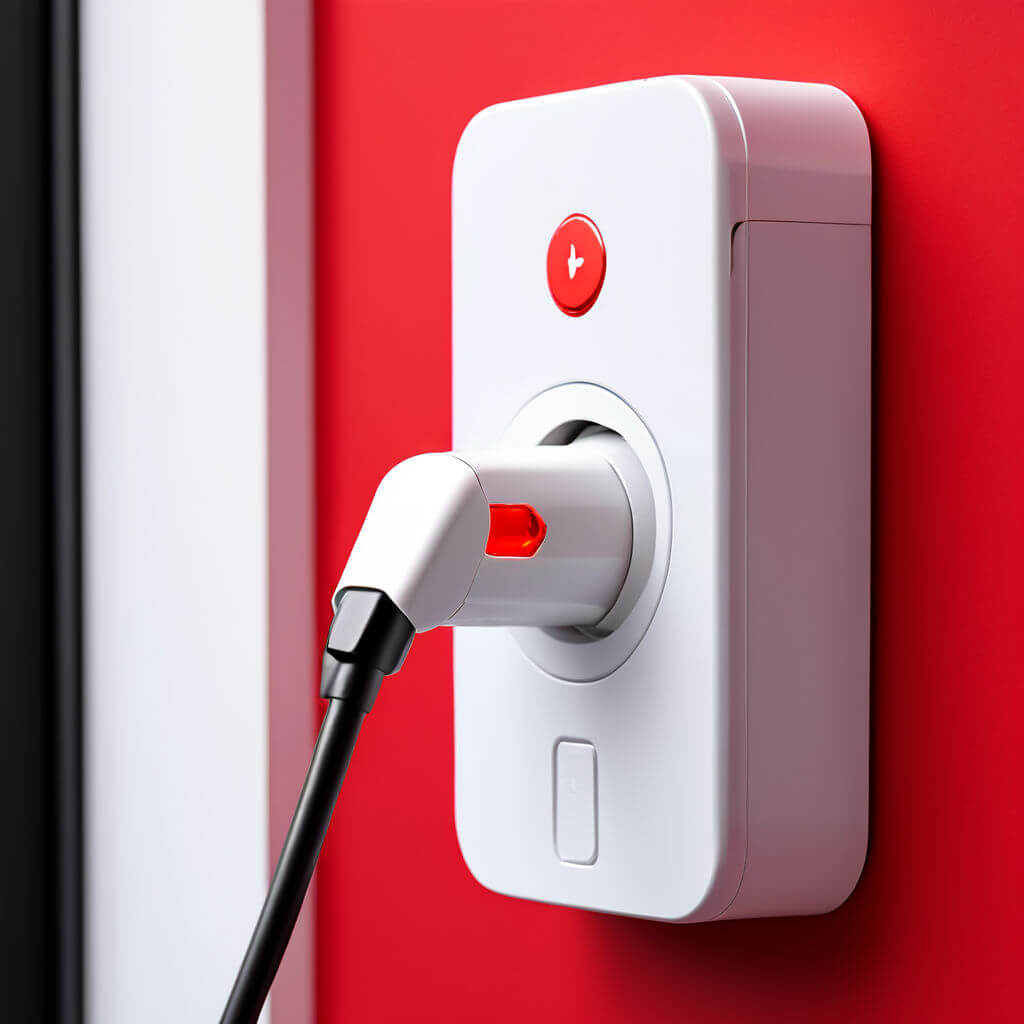
- Identify the release button on the charger handle. It’s typically located near the plug or on the handle itself. Look for symbols or signs indicating the release mechanism.
3. Press and Hold (Gently!):
- Locate the release button and firmly press it. Don’t yank or pull on the connector.
4. Visual Confirmation:
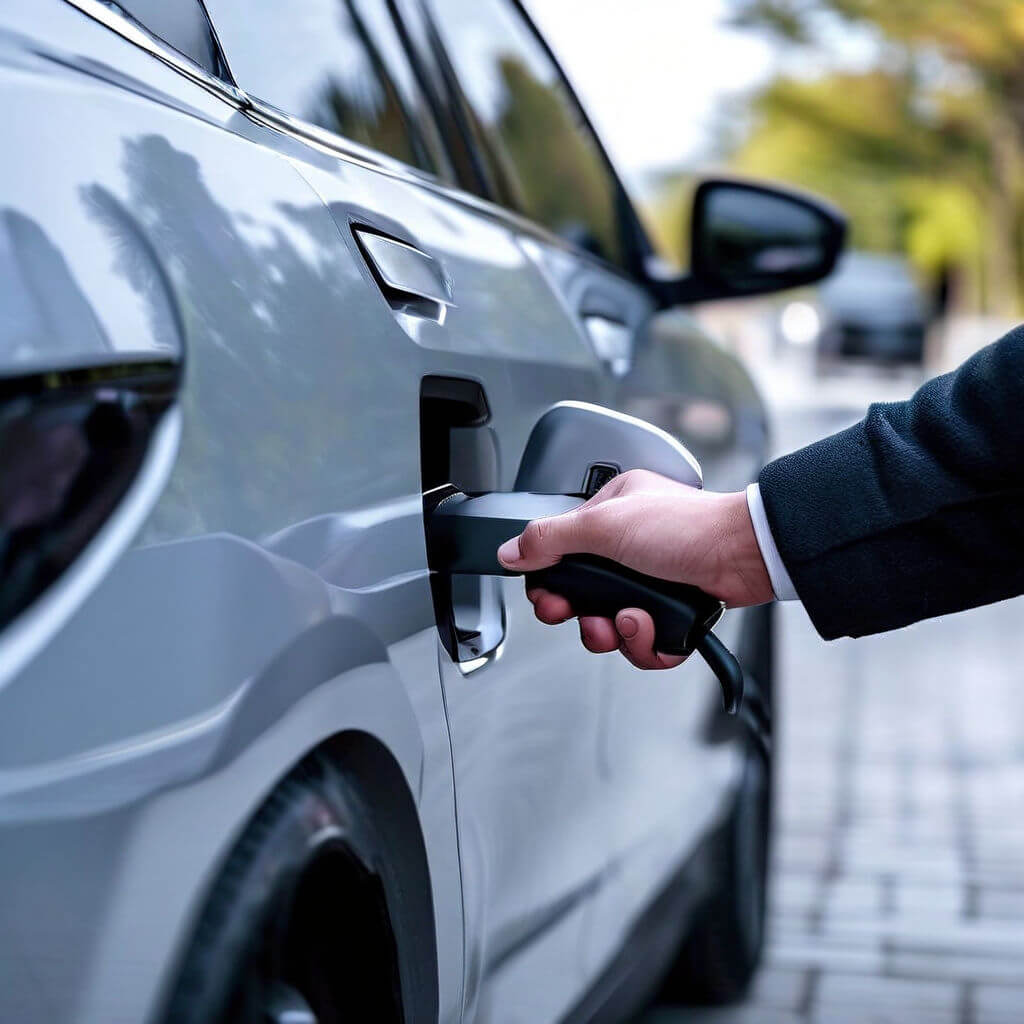
- Once you press the release button, the connector on the charger handle should visibly disengage from the lock on your car’s charging port. In some cases, you might hear a click or see an indicator light change.
5. Gentle Removal:
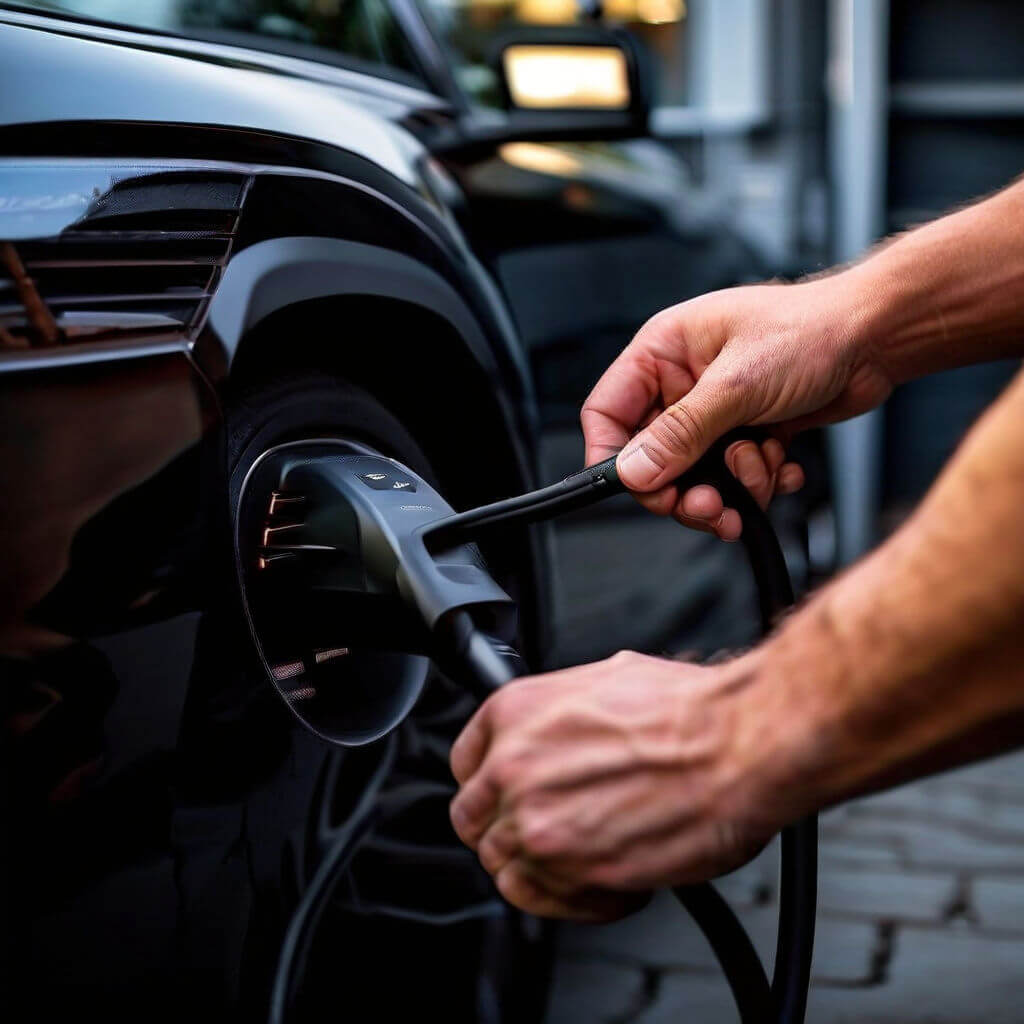
- With the connector unlocked, gently pull the charger handle away from your car’s charging port. Avoid tugging or jerking on the cord.
6. Secure the Charger:
- Once disconnected, neatly coil the charging cable and store it in the designated holder (if available) on the charger unit. This prevents tangles and damage.
7. Secure Your Car’s Charging Port:
- Close the charging port door on your car to protect it from dust, debris, and moisture.
Additional Tips:
- Weather Conditions: If it’s raining or snowing, ensure your hands are dry before handling the charger to avoid potential electrical hazards.
- Frozen Connectors: In very cold weather, the connector might be slightly frozen to the car’s charging port. Don’t force it! Apply gentle, sideways pressure to break the ice before pulling the connector free.
- Consult Your Manual: For specific instructions or troubleshooting advice, refer to your car’s owner’s manual or the manufacturer’s guide for the charging unit.
Removing a DC Fast Charger (Public Stations)
Important Note: DC Fast Chargers are high-powered equipment with sophisticated locking mechanisms and automated processes. It’s crucial to follow the specific instructions displayed at the charging station.
Here’s a general guideline:
- Complete the Charging Session: Follow the on-screen prompts or instructions on the app associated with the charging station to properly end the charging session.
- Wait for Automatic Release: In most cases, the DC fast charger will automatically unlock the connector once the charging session is complete. An indicator light or message on the screen will confirm disconnection.
- Manual Release (if applicable): Some DC fast chargers might have a manual release button as a backup option. If so, follow the station’s instructions for manual release only after the charging session has ended electronically.
Safety First:
Never attempt to manually remove a DC fast charger connector before the charging session is electronically terminated. This can damage the equipment and pose a safety risk.
Maintaining Your EV Charger and Charging Port
Regular maintenance ensures the smooth operation and longevity of your EV charger and charging port. Here are some quick tips:
- Charger Care: Keep the charger unit clean and dry. Avoid exposing it to direct sunlight or extreme temperatures for extended periods.
- Cable Care: Regularly inspect the charging cable for any signs of damage, such as fraying or cracks. Avoid running the cable over sharp objects or exposing it to excessive strain.
- Charging Port Cleaning: Occasionally, use a soft, dry cloth to wipe away any dust or debris from your car’s charging port. Never use water or cleaning solutions directly on the port.
By following these simple steps and maintenance tips, you can ensure safe and efficient charging experiences for your EV, keeping you on the road to a cleaner future.
Leave a Reply